Lower-level Hand Rails
2005
Saturday, November 5
It feels like I go to HomeDepot every other day...... oh wait... I do :)
Today's outing to HomeDepot was to purchase handrails for the stairs. We decided to get the easy stuff out of the way and get the lower-level and the basement railing out of the way.
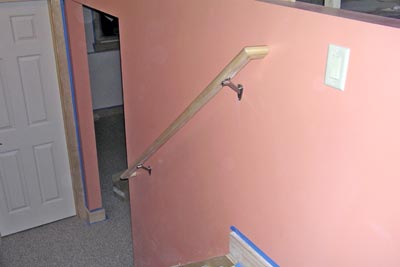
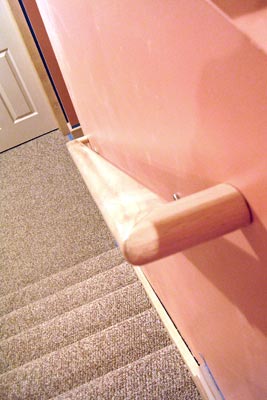
My Dad came with me, when I picked out the handrails. We found an oval one that we both liked the look and feel off. I liked it much more than the traditional mushroom shaped ones.
We had an interesting time installing them. My Dad always says "measure twice". Well... we did, except, we hadn't measured from the correct spot on the stairs. We had forgotten that the measurement needs to be at least 34" from the "end" of the stair nosing. We measure toward the middle..... thus having a cock-eyed railing. The 2nd time we did it, the measurements were fine, although Tim and I decided that it was a bit too high, so then we lowered it about an inch. Hey... what can I say.... I'm 5'2" :)
Not only did we have a learning curve with measurements, but we couldn't find one of the darn studs in the lower level wall. We're not sure if the superior walls or inside wires were throwing off the stud finder, but..... well..... I'm glad I had some plaster left over :) But in the end.... it looks great. And I like the satin nickel brackets that my Dad found.
The next day, my Dad finished off the handrails with a miter-cut piece on the end. It looks really nicely finished off now. We glued it on with Gorilla Glue. (Great stuff... though I have heard that if you don't use gloves, it stains your skin black.)


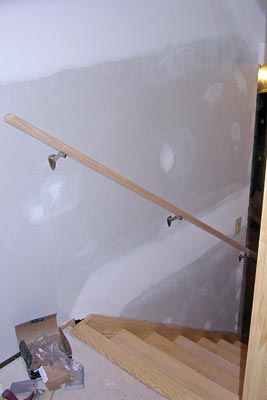
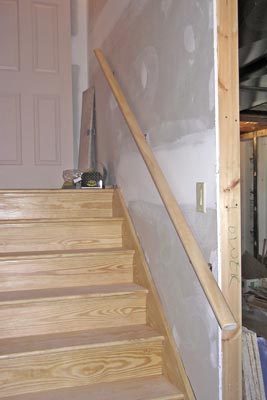
The basement rail was lots easier.... we could see the studs, cause the other side of the wall isn't drywall.


Saturday, November 5
It feels like I go to HomeDepot every other day...... oh wait... I do :)
Today's outing to HomeDepot was to purchase handrails for the stairs. We decided to get the easy stuff out of the way and get the lower-level and the basement railing out of the way.
My Dad came with me, when I picked out the handrails. We found an oval one that we both liked the look and feel off. I liked it much more than the traditional mushroom shaped ones.
We had an interesting time installing them. My Dad always says "measure twice". Well... we did, except, we hadn't measured from the correct spot on the stairs. We had forgotten that the measurement needs to be at least 34" from the "end" of the stair nosing. We measure toward the middle..... thus having a cock-eyed railing. The 2nd time we did it, the measurements were fine, although Tim and I decided that it was a bit too high, so then we lowered it about an inch. Hey... what can I say.... I'm 5'2" :)
Not only did we have a learning curve with measurements, but we couldn't find one of the darn studs in the lower level wall. We're not sure if the superior walls or inside wires were throwing off the stud finder, but..... well..... I'm glad I had some plaster left over :) But in the end.... it looks great. And I like the satin nickel brackets that my Dad found.
The next day, my Dad finished off the handrails with a miter-cut piece on the end. It looks really nicely finished off now. We glued it on with Gorilla Glue. (Great stuff... though I have heard that if you don't use gloves, it stains your skin black.)


The basement rail was lots easier.... we could see the studs, cause the other side of the wall isn't drywall.


Comments