Deck - Measure & Dig Post Holes
2008
Saturday, August 23
It's had been another scorcher of a day, in the mid 80's and humid, during our post digging day.
PREP WORK:
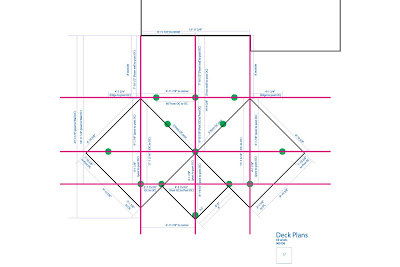
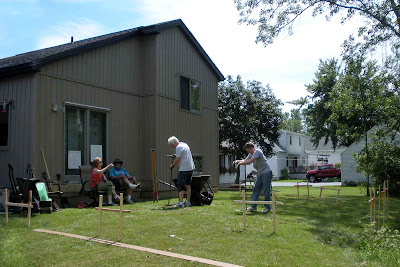
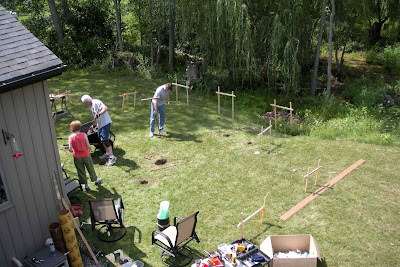
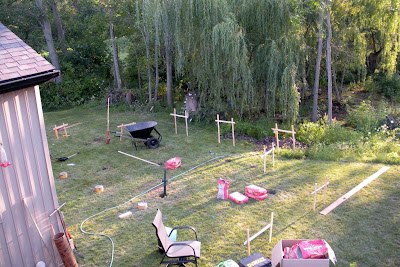
The most important part of this deck will be getting everything to line up. To do this we had to pound in batter boards (3 stakes in an H shape) and run masonry string level from the ledger board and line up where the post would be dug.
DIGGING THE HOLES:
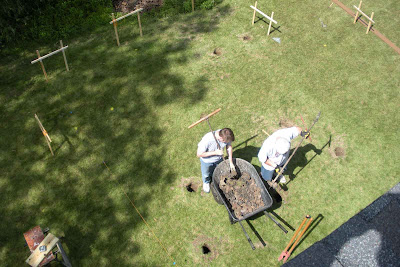
Once we marked, with tape on the string, where all the posts would go, we started digging our 13 holes. We didn't use just any tools though... we used 2 old-fasioned manual auger tools. We had 2, one my Dad had (from my Great Aunt Frances) and the other my Uncle Andrew borrowed.
The one Andrew had was a better design and worked faster, but both were soooo much more superior to what a newer post hole digger could do. It's like a giant cork screw by spinning it. It works extremely well in clay soil. The only problem was that we hit a lot of pieces of gravel and tree parts, from when they cleared the land. Once we got into the untouched earth, it worked fantastically well.
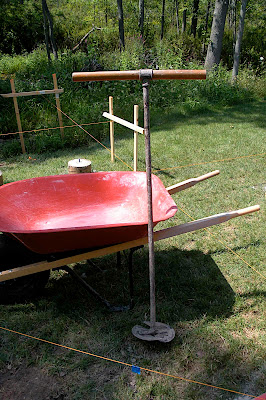
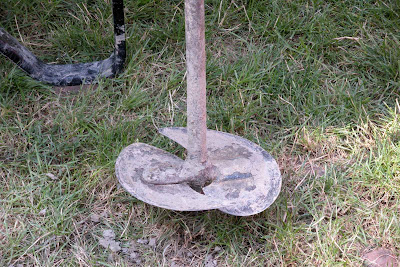
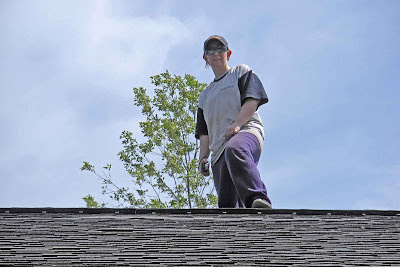
With MANY breaks, on this freakn hot day, we still managed to dig 11 full holes and start on the 12th & 13th. Tim led the way, using the better auger tool. Andrew and I were switching off using the other one with a post digger, while my Dad either relieved us or was trying to cut through tree roots. Needless to say, we were all exhausted.
POURING CONCRETE PIERS:
This proved interesting. We found out that dumping the concrete in the holes, adding water and mixing it in the hole, like they do on the HGTV shows, isn't as easy as it looks. We decided to do it the traditional way and mix it up, then pour it in the hole.
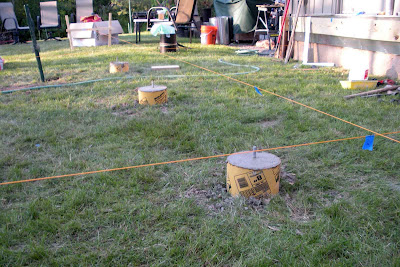
The tricky part was getting the j-bolt in the right spot (J shaped bolt imbedded in the concrete and later used to anchor a post to the pier). We also had to make sure the piers were at the right height as well, which we measured from the masonry strings.
We finished off pouring 6 concrete piers before calling it a day.
Saturday, August 23
It's had been another scorcher of a day, in the mid 80's and humid, during our post digging day.
PREP WORK:
The most important part of this deck will be getting everything to line up. To do this we had to pound in batter boards (3 stakes in an H shape) and run masonry string level from the ledger board and line up where the post would be dug.

DIGGING THE HOLES:
Once we marked, with tape on the string, where all the posts would go, we started digging our 13 holes. We didn't use just any tools though... we used 2 old-fasioned manual auger tools. We had 2, one my Dad had (from my Great Aunt Frances) and the other my Uncle Andrew borrowed.
The one Andrew had was a better design and worked faster, but both were soooo much more superior to what a newer post hole digger could do. It's like a giant cork screw by spinning it. It works extremely well in clay soil. The only problem was that we hit a lot of pieces of gravel and tree parts, from when they cleared the land. Once we got into the untouched earth, it worked fantastically well.


With MANY breaks, on this freakn hot day, we still managed to dig 11 full holes and start on the 12th & 13th. Tim led the way, using the better auger tool. Andrew and I were switching off using the other one with a post digger, while my Dad either relieved us or was trying to cut through tree roots. Needless to say, we were all exhausted.


POURING CONCRETE PIERS:
This proved interesting. We found out that dumping the concrete in the holes, adding water and mixing it in the hole, like they do on the HGTV shows, isn't as easy as it looks. We decided to do it the traditional way and mix it up, then pour it in the hole.
The tricky part was getting the j-bolt in the right spot (J shaped bolt imbedded in the concrete and later used to anchor a post to the pier). We also had to make sure the piers were at the right height as well, which we measured from the masonry strings.
We finished off pouring 6 concrete piers before calling it a day.


Comments